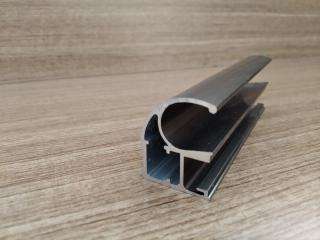
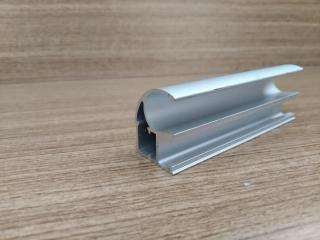
C Type Profile Doors
This is a growingly popular choice for our customers due to its smooth and seamless look. It is best suited in a modern and polished space. commonly used for wardrobes. These high-performance sliding systems come in different designs and can also be custom made according to your liking.
Description:
C type Profile is used for Sliding Wardrobe, Walk In Wardrobe, Hall Partition, etc.,
Material:
Profile is Made up of Pure Aluminium Anodised Coated Material, Top and Bottom Track is made with Aluminium. It work with Soft closing.
Benefits:
- Easy to access and ease of use
- It Saves your room space
- Enhance elegance of the room
- User friendly usability
- Long Durable and More effective with Soft closing
Available Colours:

BLACK

CAMPAGNE

SILVER
Available gage/size:
Installation Process:
STEP 1 – Fit end panels or strike plates
Cut as required to fit exactly between floor and ceiling and scribe over skirting board.
Fix to back wall, floor and ceiling with the fixing blocks and screws provided. Ensure ceiling fixing block is approx. 100mm from front edge of end panel to clear top track.
Strike plate or end panel scribed panel, showing top around skirting track & fixing.
Strike Plates – Cut to fit exact height from floor to ceiling and cut out skirting as required, or cut to fit from top of skirting as shown in the illustrations. Fix to wall with the screws and plugs provided.
STEP 2 – Trim the Tracks
- Use the ply support supplied for the underside of the bottom track.
- Fix top track to ceiling and bottom track to floor.
- Front edge of top track should be flush with front of opening.
- Front edge of bottom track should be set back 9mm from the front edge of the top track.
STEP 3 – Install the doors
- Install doors first. Raise doors and insert guides into top track.
- Sit the bottom of the door on to the bottom track so that the wheels sit onto the raised section.
- You are now able to move the door.
STEP 4 – Adjust the doors
Turning the large screw on the wheel assembly will raise or lower the door, turn clockwise to raise the door
and anticlockwise to lower the door.
