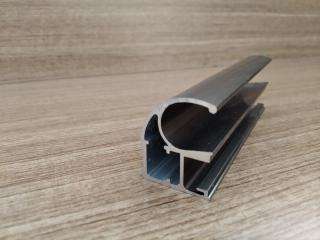
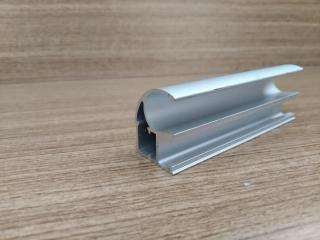
Urenus
Lorem Ipsum is simply dummy text of the printing and typesetting industry. Lorem Ipsum has been the industry’s standard dummy text ever since the 1500s, when an unknown printer took a galley of type and scrambled it to make a type specimen book. It has survived not only five centuries, but also the leap into electronic typesetting, remaining essentially unchanged.
Description:
Lorem Ipsum is simply dummy text of the printing and typesetting industry. Lorem Ipsum has been the industry’s standard dummy text ever since the 1500s, when an unknown printer took a galley of type and scrambled it to make a type specimen book.
Material:
Lorem Ipsum is simply dummy text of the printing and typesetting industry. Lorem Ipsum has been the industry’s standard dummy text ever since the 1500s, when an unknown printer took a galley of type and scrambled it to make a type specimen book.
Benefits:
- Lorem Ipsum is simply dummy text of the printing and typesetting industry.
- Lorem Ipsum is simply dummy text of the printing and typesetting industry.
- Lorem Ipsum is simply dummy text of the printing and typesetting industry.
- Lorem Ipsum is simply dummy text of the printing and typesetting industry.
- Lorem Ipsum is simply dummy text of the printing and typesetting industry.
Available Colours:

BLACK

CAMPAGNE

SILVER
Available gage/size:
Installation Process:
STEP 1 – Fit end panels or strike plates
Cut as required to fit exactly between floor and ceiling and scribe over skirting board. Fix to back wall, floor
and ceiling with the fixing blocks and screws provided. Ensure ceiling fixing block is approx. 100mm from
front edge of end panel to clear top track.
Strike plate or end panel scribed panel, showing top around skirting track & fixing.
Strike Plates – Cut to fit exact height from floor to ceiling and cut out skirting as required, or cut to fit from
top of skirting as shown in the illustrations. Fix to wall with the screws and plugs provided.
STEP 2 – Trim the Tracks
- Use the ply support supplied for the underside of the bottom track.
- Fix top track to ceiling and bottom track to floor.
- Front edge of top track should be flush with front of opening.
- Front edge of bottom track should be set back 9mm from the front edge of the top track.
STEP 3 – Install the doors
- Install doors first. Raise doors and insert guides into top track.
- Sit the bottom of the door on to the bottom track so that the wheels sit onto the raised section.
- You are now able to move the door.
STEP 4 – Adjust the doors
Turning the large screw on the wheel assembly will raise or lower the door, turn clockwise to raise the door
and anticlockwise to lower the door.
